Almost There
Finishing Your Kombucha
Once the initial fermentation process is complete, you can drink your kombucha as is. But if you want to take your beverage to the next level, a 2nd fermentation is needed to add flavor and fizz. Here is our guide to the best bottles for the 2nd fermentation.
A variety of fruits, vegetables, herbs, and spices can be added to the second fermentation to flavor the culture. It is easiest to do this fermentation in a hermetically sealed bottle so that the carbonation can develop. Also, it is nice if the bottle can go directly into the fridge when it is ready.
But which bottles to buy? These bottles can last for years so you can reap the benefits of making a good investment now.

Pressure Rated Glass
When selecting bottles for a 2nd fermentation, the vessels must be pressure certified. Trapping the CO2 gas in a glass bottle creates pressure, which can cause the bottle to shatter making a dangerous mess. A bottle that can handle 4 atm of pressure should be adequate to handle kombucha.
As they say, an inch of prevention is worth a pound of cure. The following simple steps will decrease the risk of an unexpected explosion.
Burp your bottles every day.
Burping is as simple as popping the top of the bottle each day during the second fermentation to release a little of the pressure. Listen closely to the amount of CO2 escaping each time. If you don’t hear any sound that means your bottles still have a few more days until they build the right amount of carbonation. If you feel a lot of pressure trying to escape that means it’s time to put the bottles in the fridge!
Buy brewers bottles.
Although it may seem simple and inexpensive to buy regular beer bottles for kombucha, the twist tops explode during the second fermentation. Additionally, it can be very hard to unscrew the top with so much pressure building up inside the bottles. Flip-top bottles prevent this problem.
Twist top beer bottles can hold up to 3 atm (45 psi), and “champagne” bottles can hold up to 6 atm (90 psi). Kombucha should fit somwhere between the two.
Choose round bottles.
Glass is a very brittle material, any edges will be points of stress. Bottles with edges have more stress points. Decorative bottles are pretty but they frequently have seams which are more potential pressure points.
Inspect your bottles.
Before you buy bottles and/or make your first batch check the bottles for any small defects. Cracks will shorten the useful life of your glassware.
Review
Our favorite bottles for kombucha fermentation
Air-Tight Seals
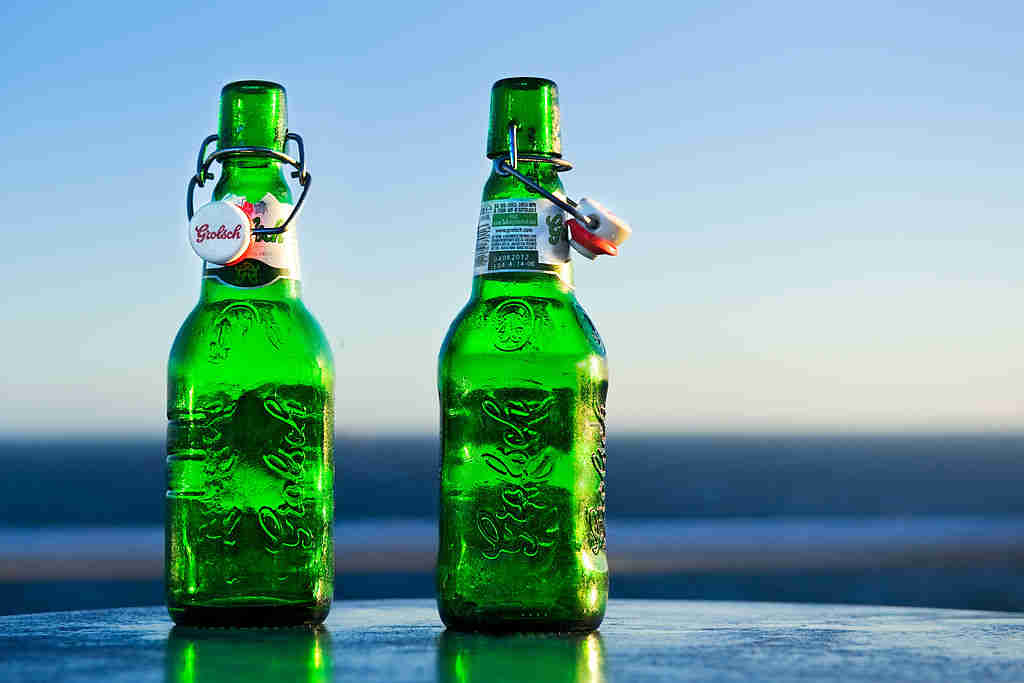
Flip-top, Grolsch style bottles are probably the most popular for brewing kombucha. I have a few myself. These bottles come with easily replaceable thick rubber gaskets that create an airtight seal.
In the 2nd fermentation, additional sugar is added to the already active yeast culture creating additional carbonation, that is trapped in a sealed bottle for effervescence. Without an airtight seal, the kombucha will be flat.
Other considerations when
buying kombucha bottles
Easy To
Clean
Buying bottles for kombucha brewing is an investment that will last for years. It is best to buy bottles that can be easily cleaned for reuse.
A bottle brush helps to keep the residue to a minimum.
500mL or larger
1 L bottles are my personal favorite because it takes less time to bottle the kombucha and most beverages are sold and served in that size. Also, it is the perfect size for gifting.
I also have a few 500mL bottles on hand for times when I am experimenting with new flavors. Anything smaller is too much trouble to fill and clean on a regular basis.
Wide Opening
Most kombucha brewing bottles have a narrow neck. However, adding the chopped fruit, vegetables, herbs, and spices to the bottle is easier with a wider opening.
Bottles to Avoid
Recycled Kombucha Bottles
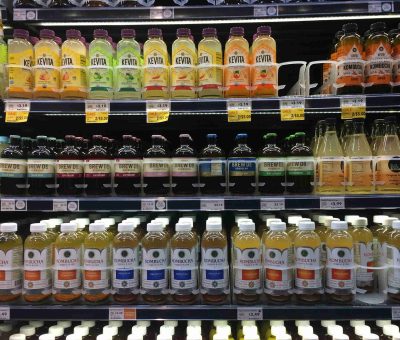
One would think that homemade kombucha would be the perfect way to repurpose store bought bottles. However the seals used on these bottles are designed for only a few reseals. If you choose this option you will need to keep replacing the bottles.
Mason Jars
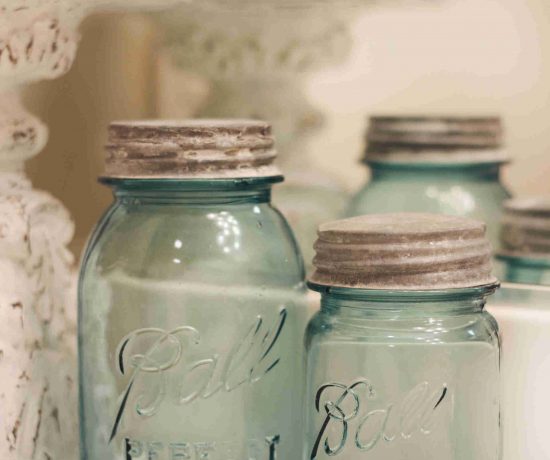
Mason jars work well for the first oxygenated fermentation but it is impossible to get an airtight seal on a jar for the 2nd ferment.
Regular Beer Bottles
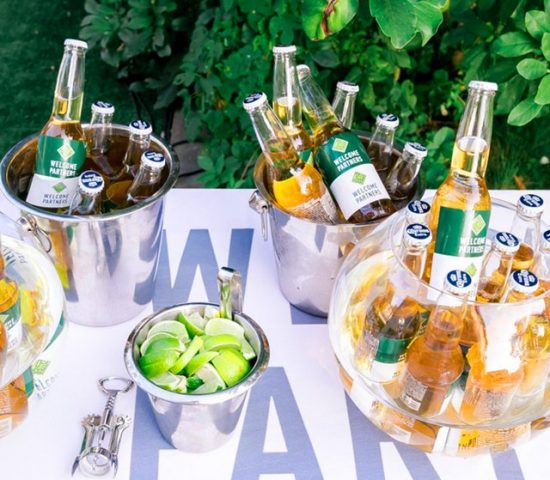
Because they are so easy to find and inexpensive, beer bottles might have been a great option for kombucha brewing. However, the sealing method does not allow for the cap to be removed and replaced to “burp” the bottle.
How to Bottle Kombucha for 2nd Fermentation
Bottling kombucha is not complicated.
The first step is to add what you want to flavor your kombucha during the second ferment. Put whatever it is you are using (lemon, ginger, mint, etc.) into a clean bottle.
Carefully fill the bottle with kombucha using a funnel.
Let the bottles sit at room temperature for 3-4 days (or longer if needed.) Open the bottles daily to test the carbonation level by burping the bottle (listen to how much CO2 is escaping).
The time needed for the second fermentation depends on the season. The second ferment usually takes more time in the cold weather than in the heat. Once you are happy with the carbonation and flavor put the bottles in the fridge.
These same instructions can be used with other beverages like water kefir for 2nd fermentations.
FAQs Kombucha Bottles
Here are some of the most commonly asked questions bottling kombucha.
I started with and still use a ½ gallon container for brewing kombucha. I find that it makes it easier to switch between my black and green tea scobys. For a family of four, a gallon container makes more sense.
For a gallon brewing vessel, you will need at least 6 500mL or 3 1L bottles. 500 mL kombucha bottles come in 6 or 12 packs. Likewise, the 1L bottles generally come in a 6 or 12 pack.
If you are going to try continuous brewing you will want enough bottles for 2 brews, 12 500mL or 6 1L bottles so that the process can be uninterrupted in the event of a bad brew or quick 2nd fermentation.
.
Inevitably someone will ask about plastic bottles because the price point is significantly cheaper than glass.
It is possible but not preferable to do a 2nd fermentation in plastic bottles.
Food-grade plastic, may contain chemicals that can leach into the acidic kombucha solution. Plastic bottles have walls that will stretch and deform as the pressure from the carbonation builds. Also, plastic is difficult to clean without soap (which can kill the microbes) and can harbor bacteria.
In a pinch it may work but if you intend to brew kombucha for your health it is worth the effort to bite the bullet and invest in glassware.
Store-bought twist on bottles are also an option for brewing kombucha. When selecting screw-top bottles you need to find poly cone seal caps. Without these caps, the carbonation will escape during the second ferment. Like flip-top bottle gaskets, these caps can be inexpensively replaced.
